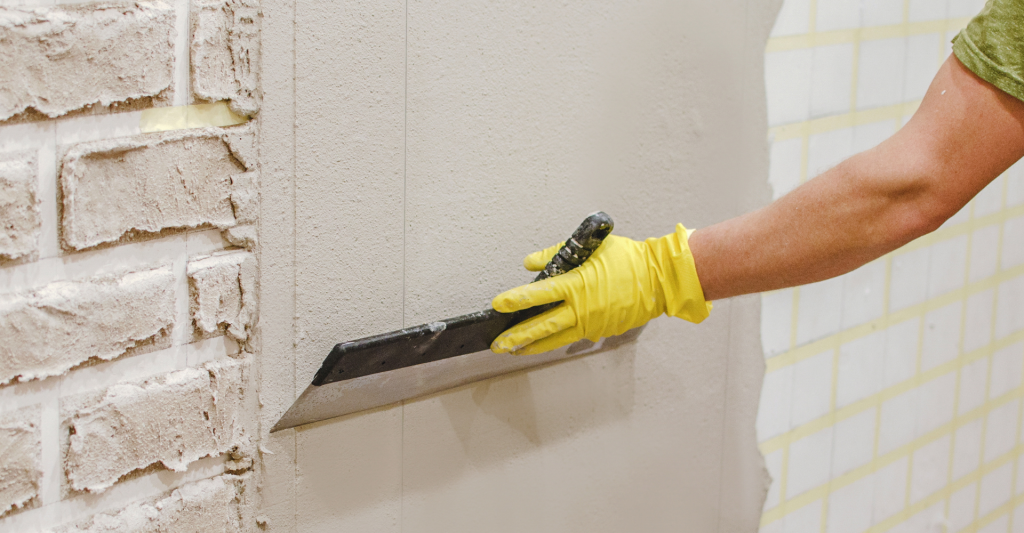
Venetian plaster is a wall and ceiling paint finish that creates the smooth and elegant look of polished marble and natural stone with the illusion of depth and texture. Venetian plaster — sometimes known as lime plaster — is essentially a putty made from fired limestone or marble dust mixed with water. After the application, it develops a finish that has created that renowned genuine marble look.
Many people wonder how venetian plaster is applied to achieve that luxurious look. Traditionally, Veneitan plaster would need to be applied by a skilled craftsman using unique materials to get the proper effect. The good news, however, there are a variety of new products that make it possible for do-it-yourselfers to create similar results in just a few simple steps and with no special training or skills required. Volterra Architectural Products carries Italian plasters as well as other highly-recommended plaster finish products. In this blog, we’re going to share our tips and techniques that will make it easy to achieve a professional, old world finish. If you would like to see these steps, we encourage you to check out this video.
Of course, before you can apply Venetian plaster in your home, there are a few supplies that you will need. Most importantly, you will need a high-quality plaster product as well as a hand trowel for application and a smooth wall finish. In the video we referenced above, the applicator is using Tivoli Grasello Italian lime plaster and Volterra’s Flat Sealer finisher. When you have these right products and have properly prepared the surfaces of the wall and applied a bonder, follow these steps:
Make sure to properly mix the plaster before applying it. Starting at a corner of the room, apply the first coat of the plaster to the wall surface using a hand trowel. Apply a thin coat of plaster while holding the trowel using random, short strokes with medium pressure. You should hold your trowel at a 15- to 30-degree angle to the wall. Remember, you don’t have to be concerned with covering every square inch of the surface evenly. Let some of the original wall surface show through in spots for more color variation in appearance, but keep the surface reasonably smooth.
If you have a shop light you can use it to see if there are any imperfections that need to be fixed with the application of the second coat. Simply shine the light towards the wall you will be working on. You’ll want to flatten the material using medium pressure to bring out minimal mottling. Make sure to cover the surfaces thoroughly, filling voids and removing high spots. You should let the plasterdry for at least 24 hours before moving on to the next step that involves applying the finish.
Oftentimes, applying a topcoat is an optional final step when applying Venetian plaster. We recommend finishing as it adds durability to the surface. This is vital for plaster that is applied in rooms with high moisture — such as bathrooms — and areas with high traffic. If possible, use an HVLP sprayer for more efficient and guaranteed coverage when applying the finish. You should spray enough material to wet out the wall. We also recommend applying a second coat of Flat Sealer. Once the top coat finish is dry, you have the option to burnish the surface to create a more polished look.
You can easily transform the plain, bland walls in your home into stylish and elegant looking structures by applying just a few strokes of Venetian Italian plaster. If you appreciate the old world aesthetic and elegant simplicity of classic European-style homes, then Venetian plaster might be the perfect finish for you. Not to mention, it looks great when paired with our faux wood beams.
If you want to achieve the classy and elegant look that Venetian Italian plaster can offer, check out our selection of plaster products. As one of the leading plaster companies in Phoenix, you can trust we carry the best products. Contact us today to learn more information.