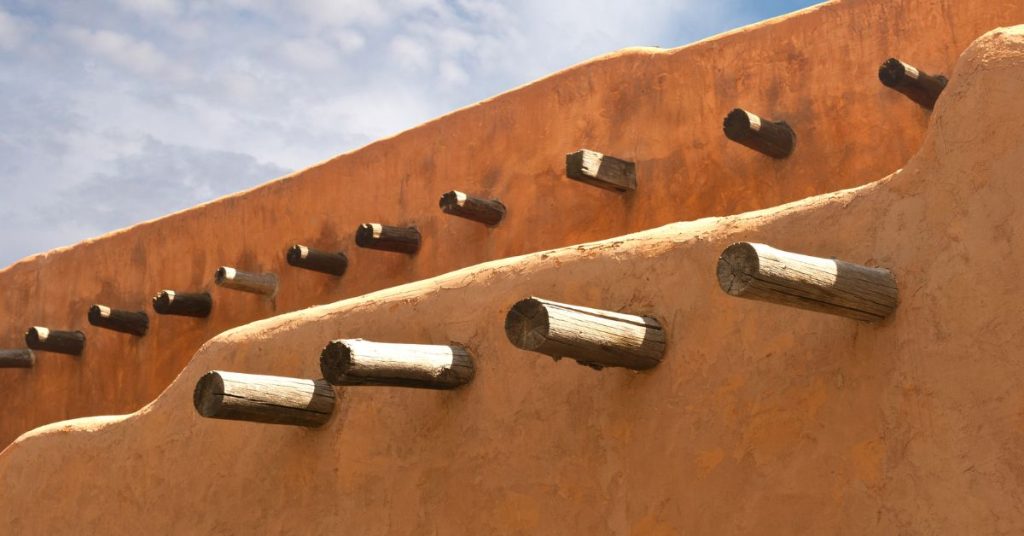
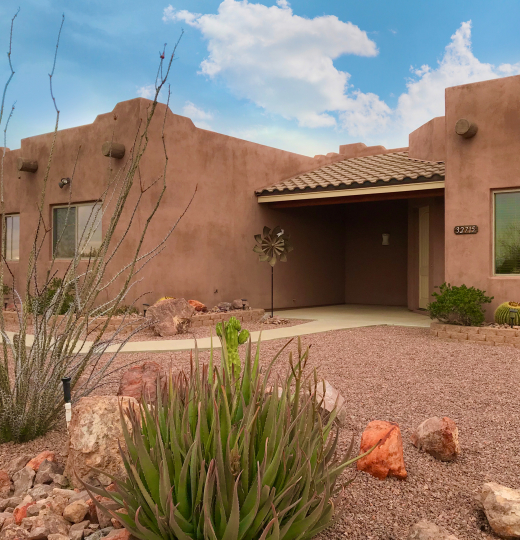
Vigas are a classic design element most commonly seen on the exterior of Adobe or Pueblo-style homes in the Southwest. The appearance of real wood logs poking through near the flat roofline of a home is something that is immediately recognizable with these style homes. However, when using real wood vigas or viga tails, it doesn’t take long for them to experience wear and tear and have an appearance that is less than ideal.
Especially when exposed to the Southwest climate, real wood vigas can split, rot, lose their color, and even start to fall away from your home. If your home has viga tails that have seen better days, it may be time to replace them. But rather than using real wood logs again, consider using faux vigas from Volterra Architectural Products!
At Volterra, we manufacture a wide range of high-quality polyurethane architectural details, including decorative vigas. Our faux wood vigas are manufactured using a high-density foam material, yet they have the appearance of real wood. These are not only a more affordable option, but they also will last much longer than real wood vigas without requiring any maintenance.
Replacing real wood vigas with faux, decorative vigas is a no-brainer. Watch our experts demonstrate how to properly replace old and worn vigas with our high-quality faux vigas!
https://www.youtube.com/watch?v=SNjveqXk0WA

Faux wood vigas are installed very similarly to real wood vigas — you use a bolt or rod, drill a hole in the center of the viga, and then slide the viga onto the rod. Therefore, you first need to start the installation process by drilling a hole in the middle of your faux wood viga from Volterra. Use a ruler to find the middle of your viga and drill a pilot hole using a ½-inch drill bit. Next, you’ll want to use a ¾-inch bit to finish drilling the hole.
Volterra Tip: Be mindful of the size of the faux wood viga you are drilling to ensure that you don’t drill through the face. In our video tutorial, we’re working with a 15-inch viga. Therefore, we drill a 12-inch hole.

Before you place the faux wood viga on the rod, apply construction adhesive to the back of the viga. After applying the adhesive, use a putty knife to spread it evenly. Be sure to stay away from the outer edges of the viga to prevent getting any of the adhesives on the exposed stucco surrounding where it will be installed.

Now it’s time to place the viga onto the existing rod that your old viga was on. Using a ladder to access the site, carefully slide the viga onto the rod using the hole that you drilled. Slide it all the way back until it touches the stucco surface of your home exterior. Twist it around a little to ensure a strong adhesive bond.
Next, use a 2½- to 3½-inch galvanized or zinc screw to anchor the faux wood viga to your home exterior. We recommend drilling through the top of the viga at a diagonal angle so that the screw goes through both the viga and the stucco. Adding a screw is just an extra layer of security that will ensure your faux wood vigas will stay put for years to come.
There you have it! In just three simple steps you can easily replace your old wood vigas. When you replace them with the faux wood vigas from Volterra Architectural Products, you’re providing your home with incredible-looking exterior architectural details that will enhance your curb appeal and require virtually no maintenance — they won’t decay, split, rot, or deteriorate.