How to Properly Maintain and Clean Your Decorative Beams
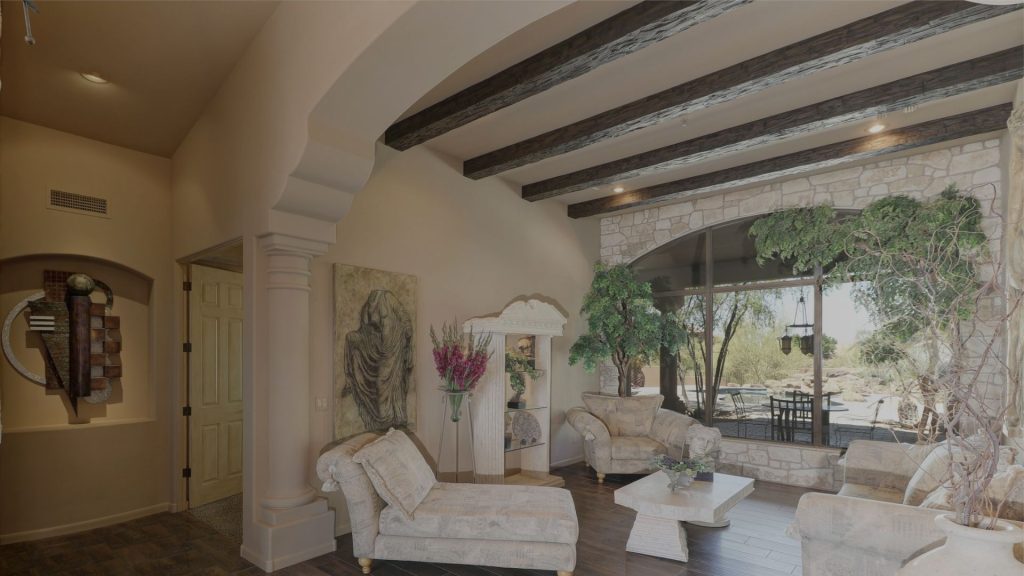
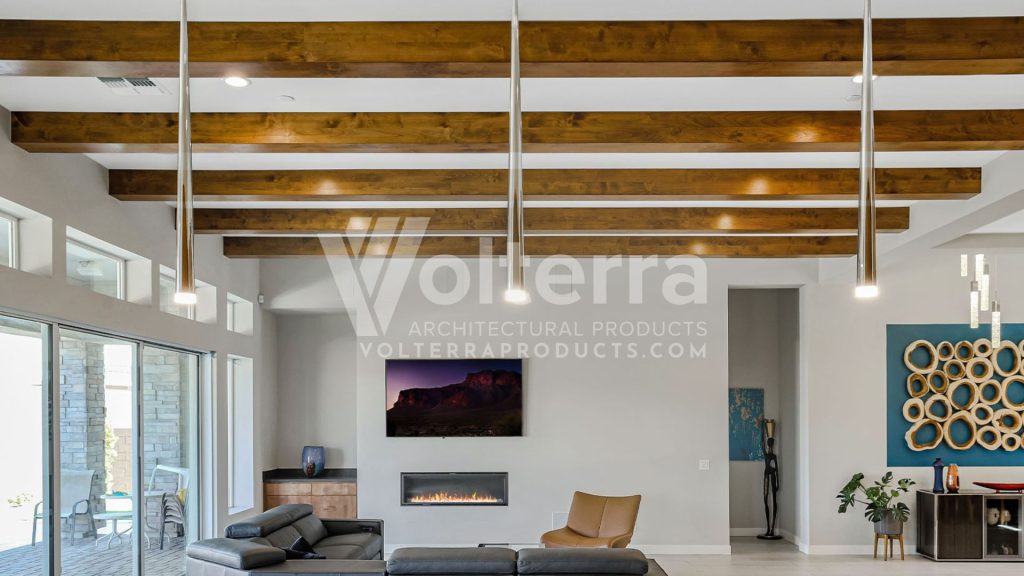
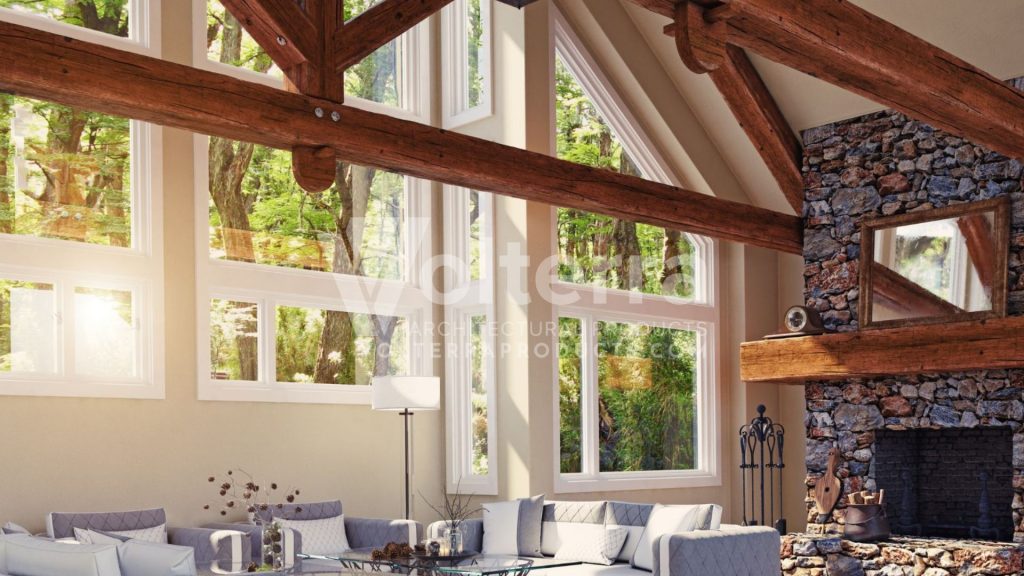
Decorative ceiling beams are a beautiful addition to any home, adding warmth, character, and architectural interest. At Volterra Architectural Products, our decorative faux beams are crafted for durability and ease...